October's Project:
Sign up to volunteer in this month’s project:
We’re excited to have your support in Grass Valley’s Art Discovery program, bringing creativity into your child’s classroom! Our first project kicks off in October, as we prepare to celebrate Veterans Day with a special initiative.
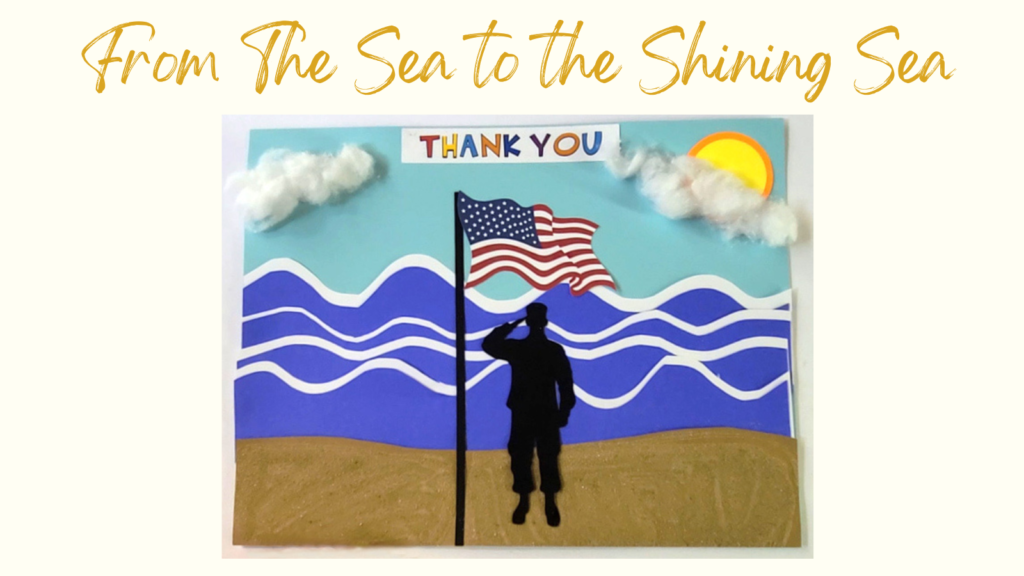
The kids will create a vibrant paper rendition of Claire Howard’s From Sea to Shining Sea. These pieces will be displayed and gifted to veterans at the VA, honoring their service and bravery.
This project encourages creativity while teaching important lessons about respect and gratitude. It’s a meaningful way for students to connect with history and appreciate the sacrifices of veterans.
VOLUNTEER'S INSTRUCTIONAL VIDEO
LESSON PLAN:
STUDENT GUIDE - VIDEO
Veterans Day - How it started and why we honor it (VIDEO)
MATERIALS / SUPPLIES:
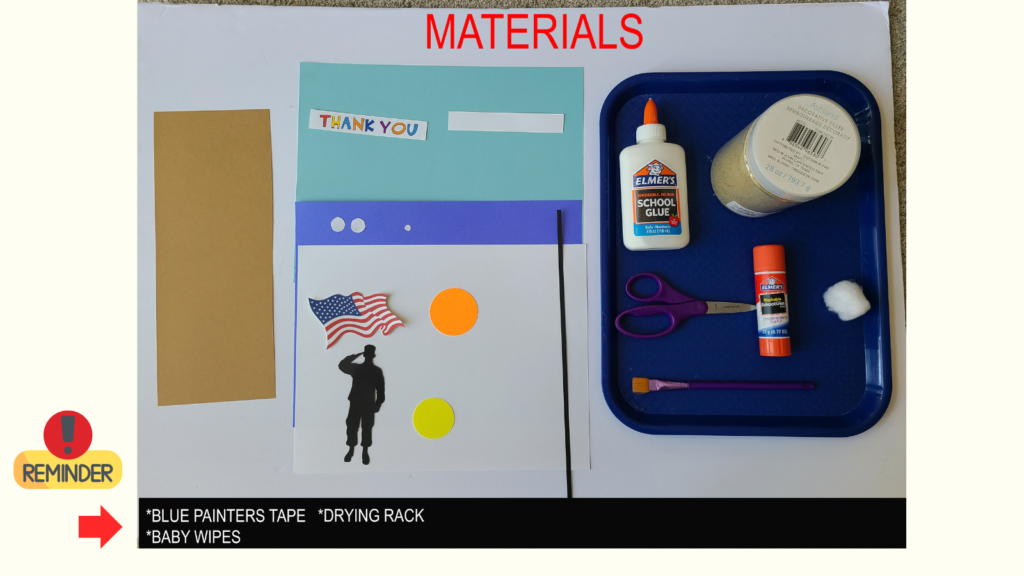
Supply List Per Student:
TIPS AND TRICKS FOR THIS PROJECT:
- We’ve created a student guide for the classroom. You can use this video if you feel it would be a helpful tool for your class. Play the video for the students to follow along, and feel free to pause at each step to give them time to catch up. We’ve also included a video explaining the meaning of Veterans Day, which you can show while distributing supplies to the kids (Veteran’s Day Video).
- Wiest’s Art Discovery Team was the first to complete this art project this past Friday and we have learned some tips and tricks to share with you:
- 1st-grade students did not understand that they have an opportunity to donate their art to a veteran. Before you start the lesson or pass out materials, please encourage students to donate their art by talking to them about what a special opportunity it is. Give them a minute to think about their decision before they start making their art. It is ok if they change their minds later. Do not tell the entire class to draw a dot on the back of their page, instead, ask them in small groups if they plan to donate their art. We are hoping this will encourage more students to donate their art. Also, do not forget the student opt-out list of parents who want their students to bring their art home. This is posted in the art closet clipped by the materials shelf.
- The lesson took an hour for 1st graders to complete from start to finish.The part that took the longest was drawing, cutting out, and glueing all the waves. If your class has less time for the lesson, you might consider drawing the waves on the white paper for the students (especially in the younger grades (kindergarten are already drawn on for you)). If your class has the time, please let them draw the waves themselves, it is fun to see all the unique shapes they choose! Check with your teacher to see how much time you are allowed to use for the art lesson.
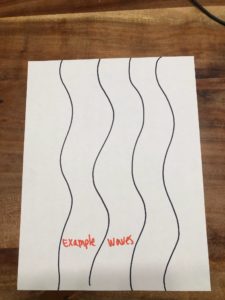
- We have made a wave drawing template for you to use with your classes. First graders did not understand that the waves had to be spread out and could not overlap. The wave drawing template shows kids how far apart the waves need to be and to only draw 4 waves. Make sure you explain that the white and blue wave pairs need to stay together after they are cut.
- Trade paint brushes for sand sprinklers. Do not give sand out until the kids have used the paint brush to spread the glue out on the paper. Then take away their paint brush and give them the sand sprinkler. Tell kids NOT to unscrew the lids off the sand sprinkler. Just open the lid flip top to sprinkle sand out. Don’t forget to take the sand sprinklers and trays away immediately after kids shake sand off of their papers or you will have a sandy mess to clean up!
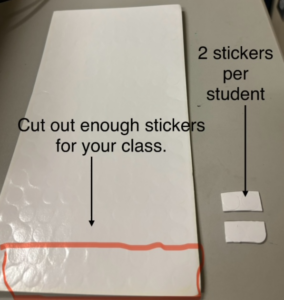
- Double-sided foam stickers are NOT included in your Ziploc bag of materials.You will need to cut these out from a sheet of stickers in the art closet. Each student will need 2 double-sided stickers to attach their veteran to the picture.
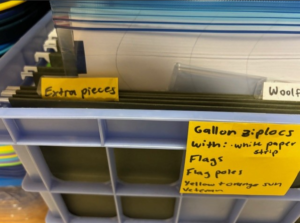
- There is an extra pieces folder in the teacher file folder in the art closet. If you have leftover pieces after the lesson or need extra pieces before the lesson, you can put or retrieve your extra pieces in this folder. All other materials can be put back where they go on the shelf.
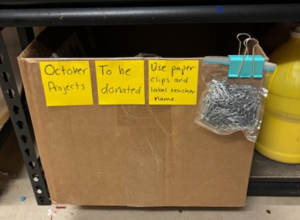
- Remember that donated art projects go in the donation bin in the art closet. Put donated paintings together with a binder clip and a sticky note with the teacher’s name into the donation bin in the art closet.
- Take the paintings to be kept by students to the office mailboxes of the teacher to be taken home.
- Leads, If you are struggling to get enough helper volunteersin your classroom, please let us know. We are happy to assist you in figuring this out.